Friday, 23 October 2015

12 Weeks Of Christmas Week 3: Among The Branches Gift Bags & Card

Here we are again for the week 3 installment of my 12 Weeks of Christmas series.  Every year around this time I hold a Create Your Christmas event for my customers where they get to make lots of cards to hand out to family & friends.  I try to use as many new Holiday products as I can at these events & always provide their kits in a pretty gift bag.

My Gift bags need to hold lots of goodies, but also need to be pretty.  Today I am sharing my gift bag design using "Among (or Amoung if you are Australian) the Branches stamp set & the Woodland embossing folder.  I saw something similar to this on Pinterest recently by Julie Davison & I just loved it so much I decided to make my gift bags for my Create Your Christmas day to match it.

Here are my gift bags:


And here is my stepped up version made into a card.  I like to design my gift bags so that my customers can create a card out of the decoration on the front each year.  I then display a card I have made with it so they can go home & make it.  It's all about recycling here!


I just love these blues & silvers together.  Just a hint...you will be seeing these colours again this Christmas!  Be sure to check back next Friday for my Week 4 Project.

Thanks for stopping by
Tricia

Friday, 16 October 2015

12 Weeks Of Christmas: Week 2 Snowflake Baker's Box


  Welcome to Week 2 of my 12 weeks of Christmas series.  Today I am sharing a really cute & simple project you can whip up in 10 mins.  I know because I did just that!  

I needed a little box to hold a scented candle I am giving a friend & this Bakers Box is the perfect size.  I wanted a wintery feel as this is travelling overseas shortly & they will be having a White Christmas.  The Season Of Cheer DSP has a really lovely soft snowflake design that was perfect for my project.


 To make this box, you need to cut out 2 of the Bakers Box die cuts using any DSP or cardstock you like & then glue them together. Easy peasy!  I have added some bling in the way of a silver glimmer banner, some sequin trim & two rhinestones.


See the little tag on the front.  Well, that was super simple to make also.  The Bakers Box die comes with lots of small shapes to cut along with your box.  I used the circle behind the largest tag & I chose a sentiment from  "A little Something" stamp set as it works perfectly for little gifts.  Although you might not be able to see them, I stamped the tiny snowflakes stamp (from the same stamp set) on the background of the white tag in Soft Sky to add some colour.


Here is a link to the Stampin' Up! YouTube video on making the Baker's Box.


Thanks for stopping by
Tricia

Sunday, 11 October 2015

CTC 51 - Winter Wonderland


Welcome to the CASEing the Catty blog hop for this week.  Today we are creating using the very lush suite, Winter Wonderland on pages 22-27 in the Holiday Catalogue.   This is one of my absolute favourite suites & was the one I was drawn to the first time I looked through the catalogue.  I think most of my preorder consisted of everything in this suite!

I have created lots & lots of projects from this section & will be sharing them later on in my 12 weeks of Christmas posts commencing on the 9th of October, going right through until Christmas eve.


This week I have chosen to CASE the shaker card on page 22 of the Holiday Catalogue.


I loved the crisp black, white & gold feel this card has, plus I wanted to try out a shaker card.  I chose to use the Winter Wonderland Specialty DSP.  Now this DSP is REALLY lush with gold, black & white.  It is a shiny thin paper, which makes it feel expensive & extra special! 


Here is a side view.  I quite like a square card, but this one will need an envelope made as its quite large at 15cm x 15cms.  I have added a sheet of the Winter Wonderland Vellum stack.  Oh my, this stack is stunning.  If you love vellum you will love these gorgeous prints.


The deer to the right corner is from the stamp set Jolly Christmas, which is also in this section of the catalogue.   


The other thing you will notice is the metallic sequins in the shaker section. They match this DSP perfectly & are from the annual catalogue. I cut out the middle of a doily & made a mini one for an added embellishment behind the deer. 

I hope you have enjoyed my shaker card today.  It's now time to continue the hop to Judy's blog.  To see her project just click on her name or the next blog button below.  Remember if you get lost you can always head on over to CTC blog to see the full list of participants.


Thanks for stopping by
Tricia


Friday, 9 October 2015

12 Weeks of Christmas: Week 1 Joy Card

Welcome to my annual 12 weeks of Christmas posts.  Every year I run this popular series where each week I make something to inspire your Christmas creating.  I make all kinds of things from 3D, gift projects & also cards.  I think it's time I got all my Christmas decorations down from the garage.  Time to start thinking Christmas... not long now!

To start us off I have created a Joy card using the Berry Merry bundle from page 30 of the Stampin' Up!  holiday catalogue.   We created this card last month for one of our stamp club projects.  I love a bit of Pear Pizazz & Early Espresso for Christmas.


Those demonstrators amoungst us might recognise this card from one of the US convention stage presentations, but I have changed it up a bit to suit what I had.   I love this Boughs & Berries embossing folder that comes with the Berry Merry bundle & have made a few creations with this folder, so make sure you check back in for those. 

For those of you who love the CTC blog hops, we have changed to Sunday night now, so come back then for my next blog hop post.  I have created a Christmas shaker card, especially for the hop. 

Thanks for stopping by
Tricia 


Sunday, 27 September 2015

CTC 49 Home For Christmas


This week at CASEING the catty we are celebrating the gorgeous Home for Christmas section of the Holiday Catalogue (pages 8 -21).    This product suite is one of my favourites & is sure to be yours too. It has such a lovely vintage feel from the cute little reindeer to cheeky Santas and the coordinating Cozy Christmas stamp set is a must this Christmas.  Also in this section are the Embellished Ornaments, Hearth & Home plus the impressive Sleigh Ride edgelits.  There is a lot more in this section to see & use, but I could not go past the Home for Christmas DSP.  

I chose to CASE this card on page 8, but have added a little twist 😉


I was cruising around the internet last week & saw this cute twisted Christmas card by Angie over at My Chic & Scratch.  It was such an unusual fold I wanted to try it out.  Here is the link to her tutorial on Youtube.  

For my card CASED from the Holiday Catalogue, I used the very striking Poinsettia DSP in the Home for Christmas DSP.   I cut it out of the DSP & mounted it on a 2 1/2" circle punched out of Vanilla card stock & mounted it on my Mossy Meadow card base. 


As I wanted a bigger card than those on the video, I changed the dimensions on my card to suit my project.  My poinsettia card flat starting dimensions are 26cm x 14.5cm & the finished folded version as shown is 10cm x 18cm.


Here is the DSP as shown in the catalogue.  This designer paper is my go to DSP this year, I can't stop using it! 

While I was designing this card I made a smaller version that will fit in a standard envelope.  Once again, I could not go past the gorgeous Home For Christmas DSP & a cute vintage Santa snipped out of the larger sheet of Santas in this DSP pack. 


This card is a bit smaller measuring 15cm x 10cm when finished. So, there you go a fun twist on a Holiday catalogue card.    I can see these cards stepped up with lots of bling & glimmer paper, I just didn't have any on hand.  Guess what I will be ordering this week! 

Next up on the blog hop is the wonderful Rebecca at The Paper & Stamp Addict.  If you get lost or need redirecting, head on over to CTC blog for a full list of hoppers. 


Friday, 11 September 2015

CTC 47 - Lets Kit Together Oh What Fun Tags


Thanks for once again joining us on the CASE-ing The Catty Blog Hop.  Today we are showcasing the super duper amazing kits in the Holiday catalogue.

Personally, I find all the kits to be such great value.  I have made quite a few of these kits up & decided today to have a play with the tag kit.  I didn't actually buy the tag kit.  It is on my wish list but alas my craft dollar is being spent on lots of other things right now.  I did, however, purchase the super versatile stamp set that coordinates with the kit.  It is called Oh What's Fun & has many sentiments that are could be used for not only tags but also for cards.

Here is the Oh What Fun Tag Kit as seen on Page 5 of the Holiday catalogue.


 Here are my CASED versions using some scraps of DSP & some fun embellishments.


For my 1st tag, I used some Subtles DSP stack, a metallic doily & a scrap of red glimmer paper.

 My 2nd tag uses the Merry Moments DSP from the Annual catalogue. Yes, there are two Merry Moments DSP's.  One is a 12 x 12 pack in the Annual Catalogue & the other is a 6 x 6 version using 4 of the designs.


 My 3rd tag uses the new 6x6 paper stack in the holiday catalogue, Merry Moments paper stack.  It has 4 designs & you get 24 of each. Great for making lots of Christmas cards, tags or even swaps!


My 4th tag uses Merry moments 12 x 12 DSP.  This striped Smokey Slate & Real Red sheet is my favourite in this pack.

And lastly, this tag once again uses the Merry Moments 6 x 6 paper stack.  I've also used a chipboard Snowflake Element.


So, you can see a few scraps of paper & some ink & stamps makes lots of cute tags.  Super easy & lots of fun.   I wonder what Julia has made for us today.  Follow the link to keep hopping.  If you get lost you can find the full list at CASEing the Catty.


Friday, 14 August 2015

CTC43 - Hello Life for CASE-ing the Catty Artistic Expression Week

This week at CASE-ing The Catty we are CASE-ing the Artistic Expression section in the Stampin' Up! annual catty. This section covers pages 111-134.  There was lots to choose from, but I decided to share a project I made a little while ago that I just love.

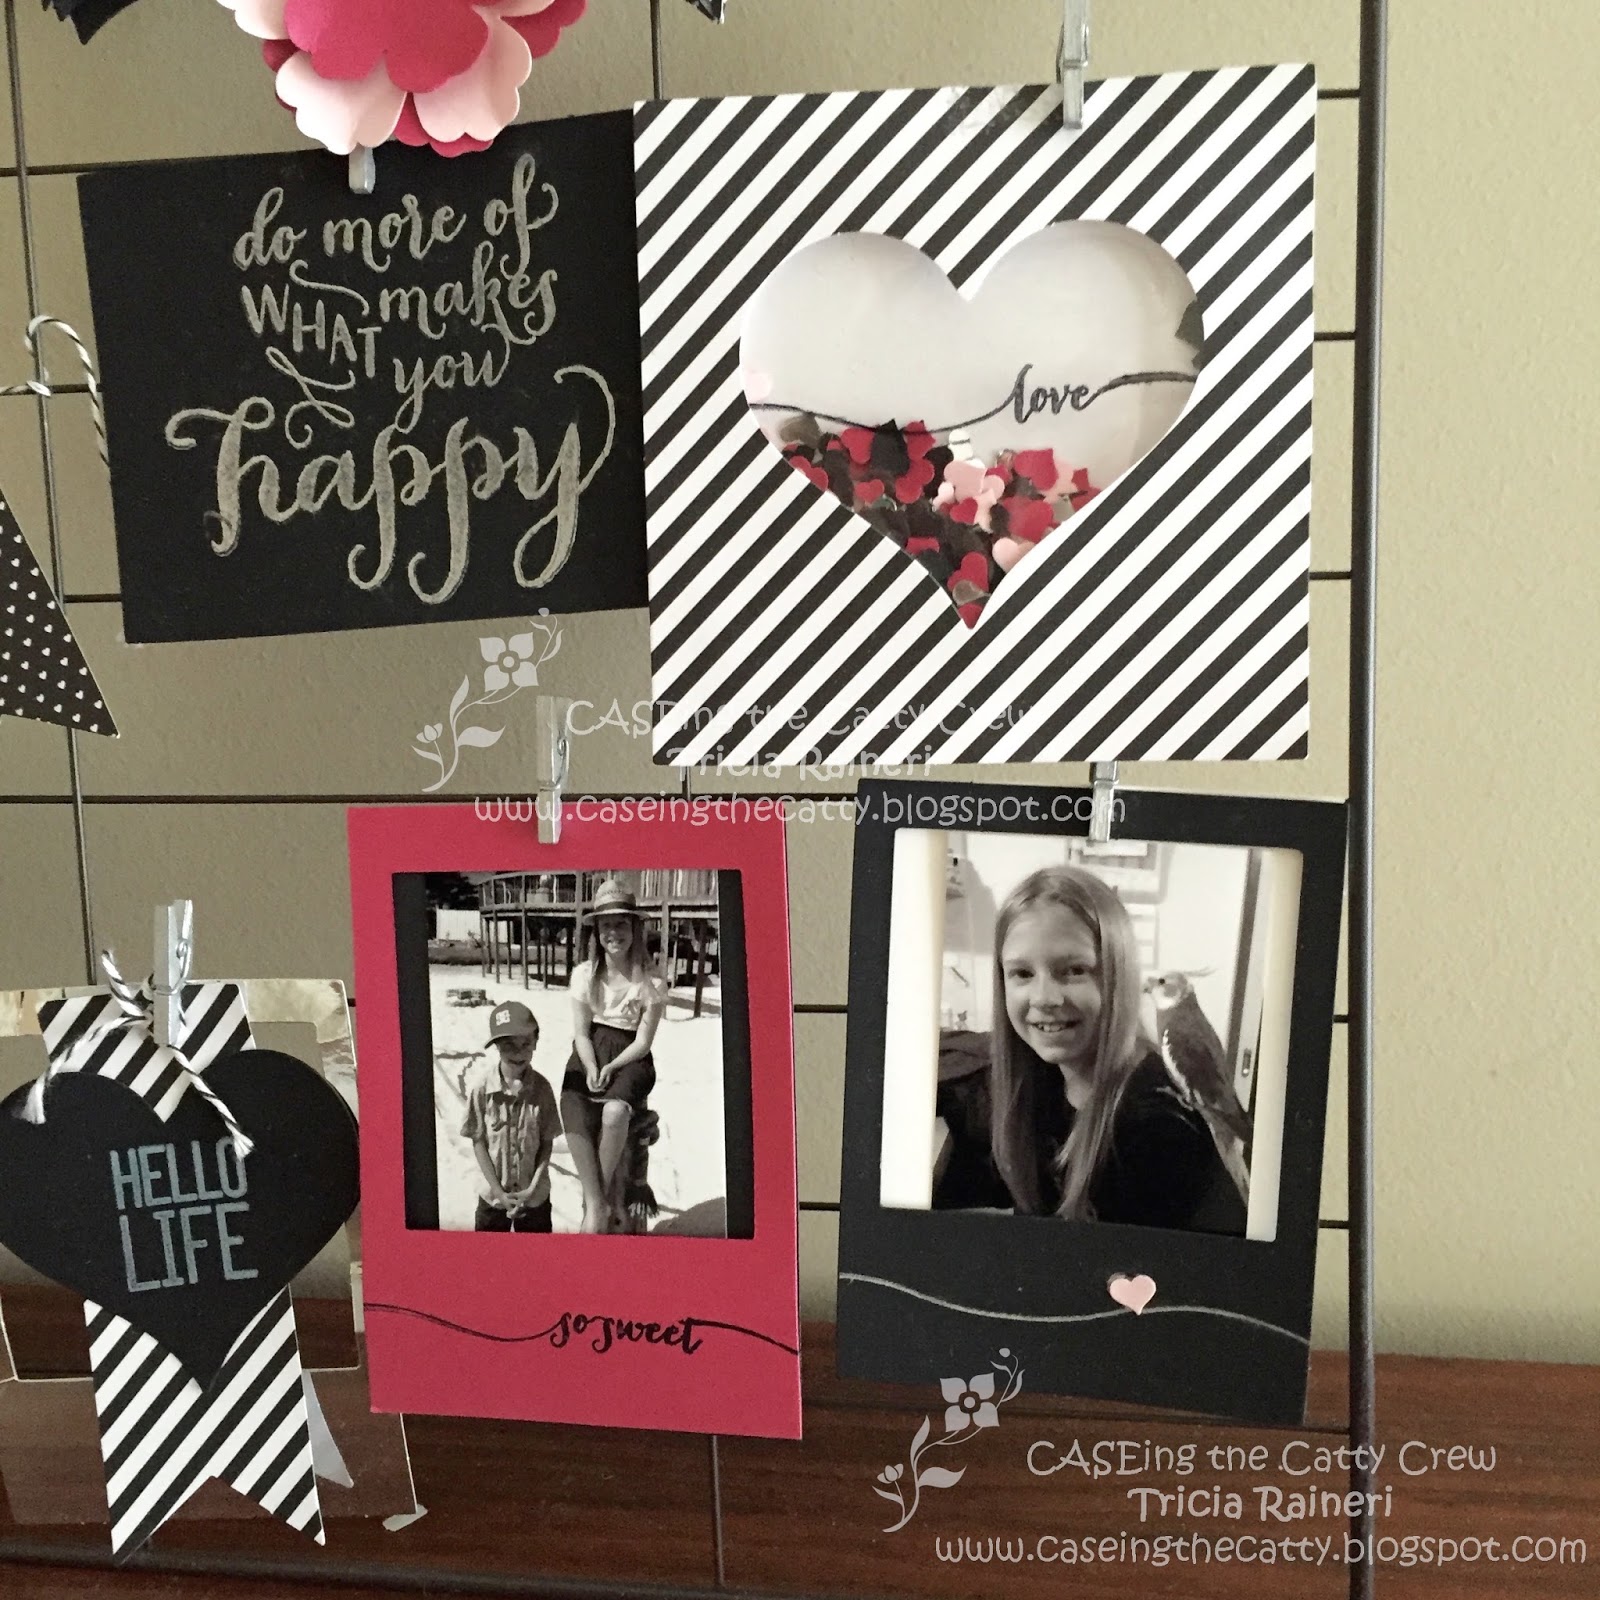
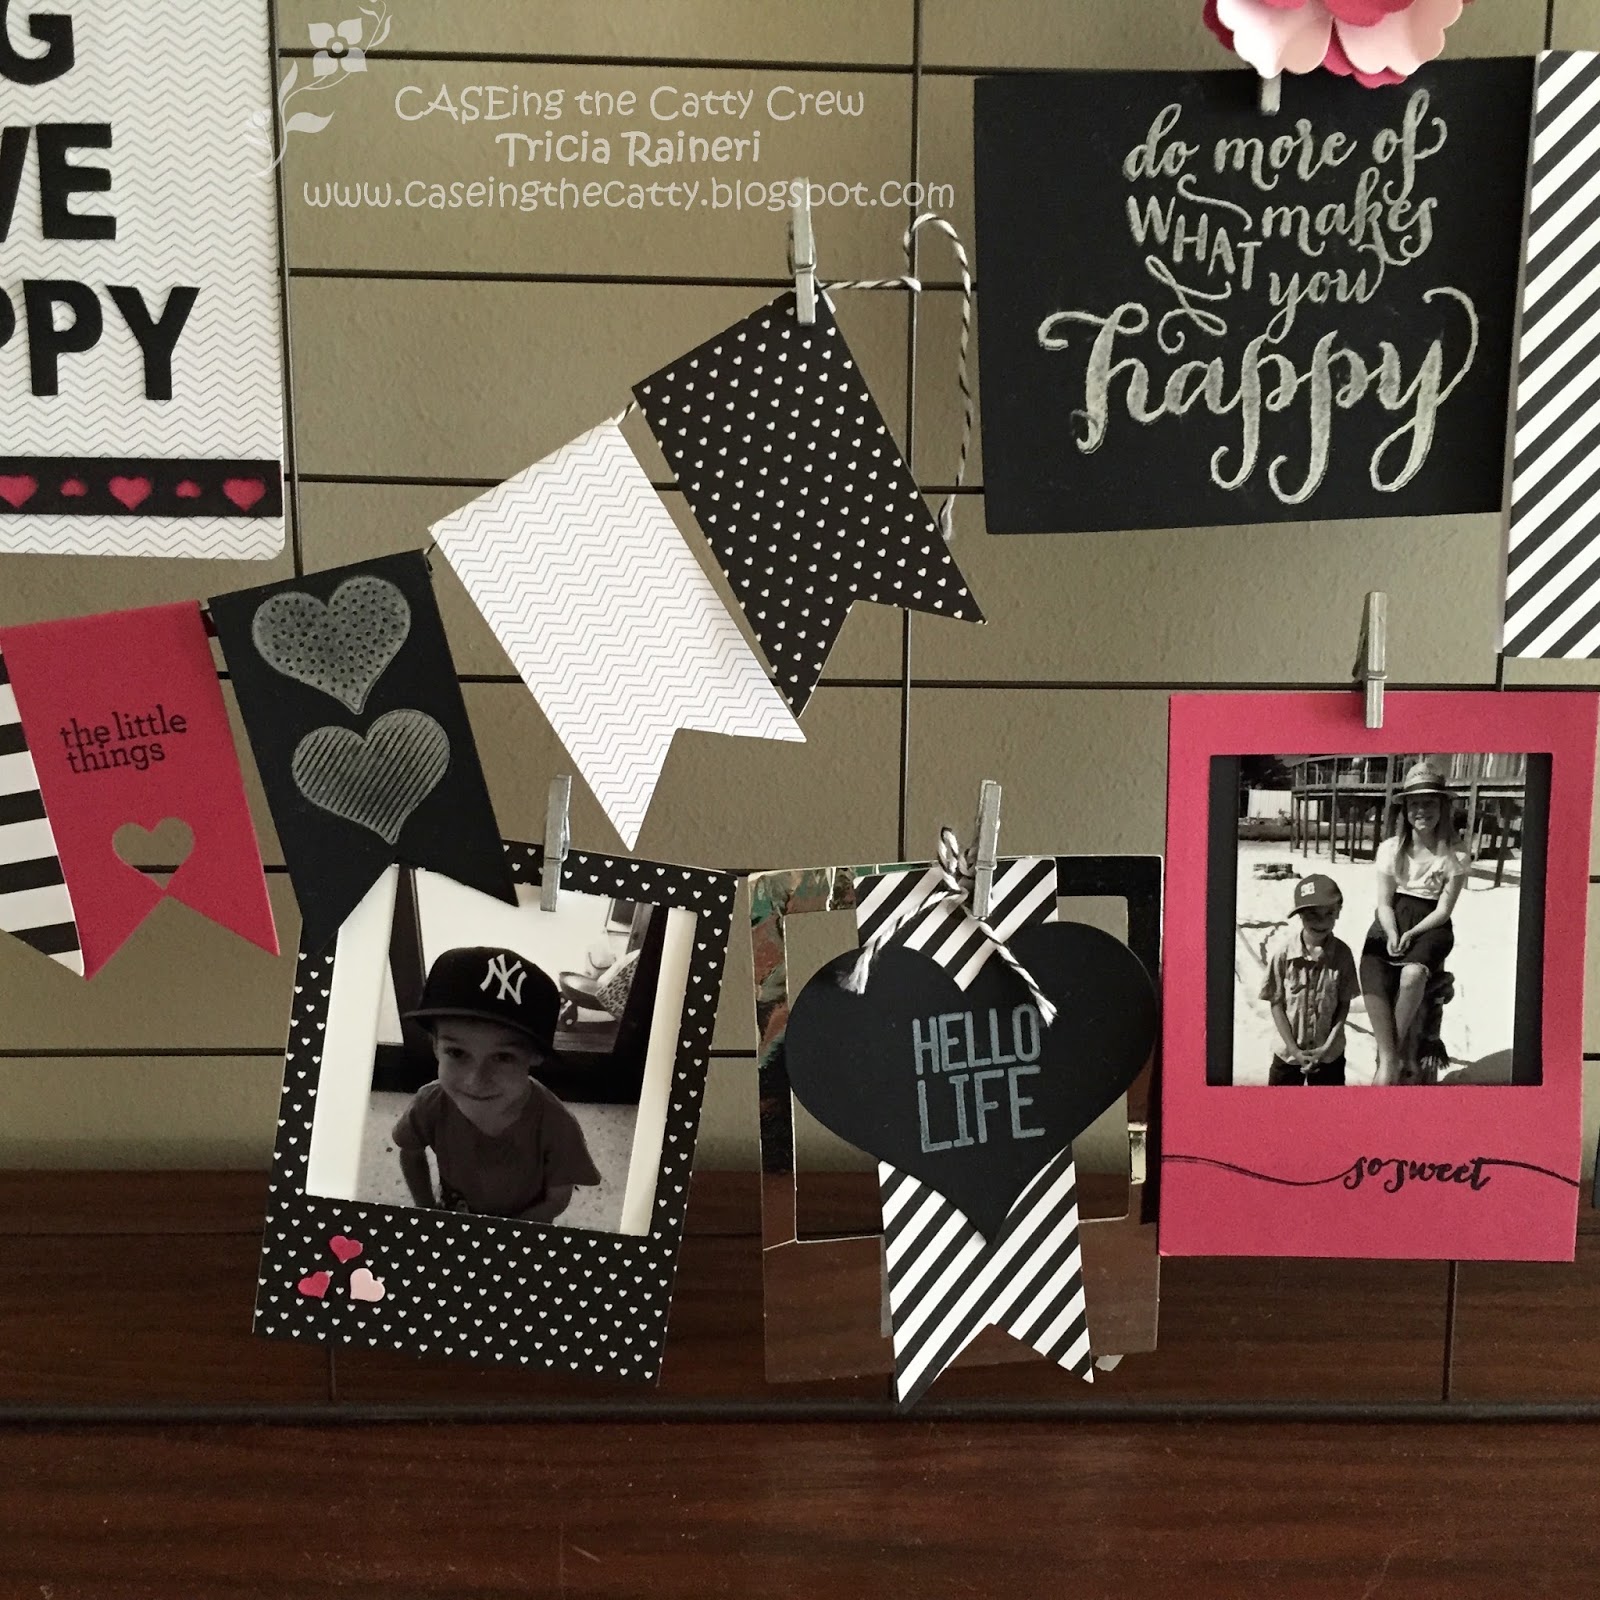
I wanted a fun way to share my favourite photos of the family & what is more fun than this cute kit!  I made up the Hello Life Project Kit, but I wasn't a fan of the Crushed Curry that the kit comes in.  I changed the colour out for Rose Red & Pink Pirouette. I might change it up again when it gets to Christmas & convert it to a Christmas theme too.  That is the great thing about these kits, you can change them to suit your needs.

Here is the kit on page 131


I have this on display in my hallway & it always makes me smile when I walk past it.


The kit is really easy to adapt to your decor & you can change out your photos whenever you wish. It comes with this cute wire frame which looks a bit like a cake cooling rack to me but rest assured it is perfect for pegging all the embellishments & photos to.

The Hello Life stamp set coordinates with this kit & has lot of cute images & sentiments.  I love the swirly font of the "do more of what makes you happy"stamp.   The kit comes with little alphabet letters to create the sign on the top left.  I chose the saying "dream big, live happy" but you can put anything you want there.   


You get lots of "bits" in the kit including the pegs & banners, but my favourite is this fun shaker frame.  I punched out lots of little pink hearts for my shaker frame using the Confetti Hearts Border Punch.  Its perfect for shaker frames.  If you want, you can just use all the little hearts that come in the kit though.


So, if you are looking for a fun project that won't take long, but looks great, this kit is for you.  
Thanks for hopping along with us today.  Your next stop is the lovely Rebecca @ The Paper & Stamp Addict.  I am looking forward to seeing her creations.  Are you feeling arty?   

If you get lost along the way hop over to the CASE-ing the catty blog for a full list of participants. Why not join us & CASE something from these pages too! 

Thanks for stopping by
Tricia