Sunday, 7 February 2016

CTC65 A Bloomin' Love Valentines Card

Here at CASE-ing the Catty we are celebrating all things Valentines.  Yes, it is that time of the year again, where lovers everywhere celebrate their love for one another.  Blah blah blah.... it's not my favourite holiday, in fact, I have never ever celebrated it, but that doesn't mean I can't celebrate with a card.  I know there are lots of people who need a nice Valentines day card so this one's for you ok.

I have used both the Bloomin' Love Stamp set & Bloomin' Heart Thinlit die which are available as a bundle to save you 15%.  I have to admit every time I see the word Bloomin'  I can't help but hear a man (Alf Stewart from home & away actually lol) whinging...."Bloomin' Valentines day ugh"!   I digress....

For my case today, I have combined these 2 projects using the Love Blossoms Suite on page 16 of the Occasions Catalogue.


Nothing says Valentine's more than a big red heart & the intricate Bloomin' Heart thinlit die is perfect for this, so I have pulled that element from the card at the back. I loved the small hearts on the gift bag so I have used that too by adding a bit of texture with a retired heart embossing folder.  You'll notice there is a dash of silver & bling to my classic red & white colour palette for added oomph.


This is actually one of the 4 cards my class participants created today during our Love Blossom class. 
If you are interested in attending classes I have a tab up the top of the blog with dates each month. 

Next up on the hop is Julia with another bloomin' heart just for you. If you would like to continue the hop forward then click the next button.  If you would like to check back at what Rebecca has made then click the previous button below. 


Why not join us by CASEing something from the Valentines section & adding it to our challenge?  We promise not to bite...even grumpy old non-Valentine persons like me ;)    To add your project click here


Thanks for stopping by
Tricia 

Sunday, 31 January 2016

CTC 64 The Sky Is The Limit Label Closure Card

Welcome back to CASEing The Catty Blog Hops.  I am going through a very masculine phase at the moment.  Not sure why because I really love flowers & bright colours.  Today I've chosen to case a mixture of all 3 of the Sale-A-Bration Sky Is The Limit cards.

Here are the cards I am case-ing.


I know how vague that sounds but let me explain.  I wanted to use the brown from the top left card, the plane & sentiment from the bag & the label from the bottom card.

I was looking for a project for my stamp club ladies & stumbled across a Partial Die Cut Label Closure card on Pinterest. It was based on one originally by Linda Heller & was perfect for what I was trying to achieve.  I also wanted to incorporate the World Traveller embossing folder & show the technique of inking up the folder when embossing.

Here is what I came up with:


The card opens like this.  I wanted to cover the hole the partial label cut made so I layered a piece of Very Vanilla over the top. I also covered the back with another piece of Sahara Sand card stock. (I'm a bit OCD) 


I used the Happy Birthday from Guy Greetings for the inside. You could leave it blank as the label flap covers this area.   Creating this type of card involves only partially cutting the Label framelits 1" in from the right-hand edge to create a flap. I also scored this flap so it folds easier, but you don't really need to. 

Thanks for hopping along with us today.  If you would like to go back to Bronwyn, then click previous blog below.  To keep moving forward, be sure to click the NEXT blog button to see what the lovely Rachel is sharing with us today & to continue the hop. 


Thanks for stopping by
Tricia 


Sunday, 17 January 2016

CTC62 Time For A Sale-A-Bration!

It's my favourite time fo the year, SALE-A-BRATION!  Yay! I love earning freebies & the products this year are all so lovely, I want them all!  You may have come from Rebecca's blog or you may have started right here. Either way welcome to the CASE-ing the Catty Sale-A-Bration blog hop.

Today for the CASE-ing The Catty Blog Hop I have decided to case the cute ice cream card on the front cover of the Sale-A-Bration catalogue.  Do you know the one I mean?  Here let me refresh your memory....See that one up on the top shelf?


It's my daughter's 12th Birthday this week so I used the catalogue as inspiration for her card. I opened my Birthday Bouquet DSP & there looking at me were the prettiest ice creams I have ever seen.  It took all of my strength to cut this paper up, but doesn't that give me an excuse to buy more? 


It's a very simple card but looks quite effective with the cute honeycomb embellishment over the ice cream don't you think?  I used my blender pen to colour in the ice cream & the DSP matched the whole layout perfectly.  I used the Happy Birthday sentiment from the Balloon Celebration set.  Don't you just love the whimsical swirly font in this set. 

While I was looking at that stamp set I thought hmm these balloons might look ok in a similar style to this case.  Here is my Balloon Celebration version.  The honeycomb embellishments didn't quite go with my bright layout, so I made my own out of the Balloon Bouquet punch. I coloured my balloons in with a blender pen & inks & it was only when I finished I realised there was a solid balloon stamp in this set that would have saved me so much time!


Time to hop on over to the next blog to see what Elizabeth has in store for you.  I can't wait to see what she has come up with! 

Thanks for stopping by
Tricia 


Sunday, 10 January 2016

CTC61 My Favourite Occasions CASE


Welcome back to another year of CASE-ing the Catty Blog Hops. I am so glad to be back in the craft room creating again.  It felt like it had been ages, but was only a few weeks.  After 3 weeks of school holidays, I think I found my sanity in there. 

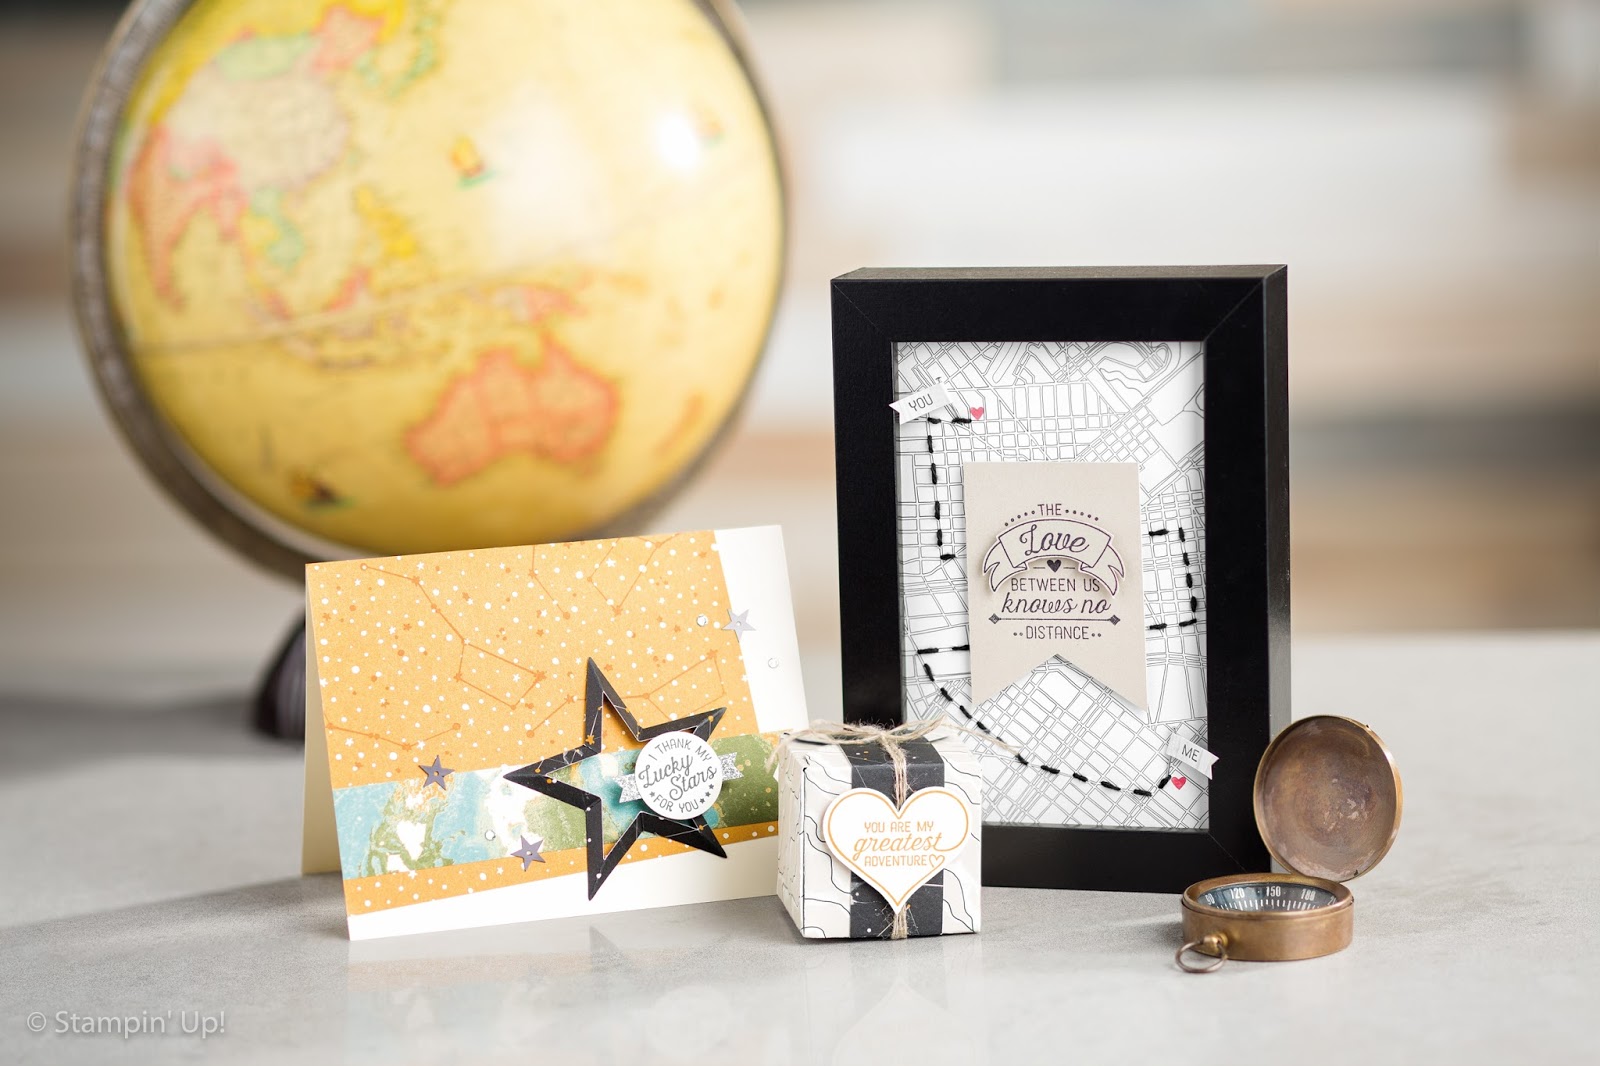
Today I am sharing my favourite project from the Occasions Catalogue.  There were so many to choose from, but I decided I loved the Going Places suite the most.   Whilst browsing the catalogue, my eye was drawn to the cute box frame on page 38.  Here is a picture of how it appears in the catalogue. 


I had an A4 sized black frame sitting around empty, so it was perfect for this project. 


This is my first sewing ever on a card, well technically it isn't a card is it!  Here is a close up of my awesome sewing lol.  I snipped up some leftover reindeer clips from the Holiday catalogue for my little flags. My trusty Owl Builder punch supplied the little glimmer hearts. 


When I finished making the frame I felt it needed a card to go with it.  There were a few extra bits on my desk so I made this matching card.  I wanted to make this more neutral so I omitted the red glimmer hearts & replaced them with Sahara Sand & Vanilla ones. 


The Going Places DSP stack has such lovely masculine prints & patterns & is sure to be a favourite amongst a lot of my customers.  I bet you will love it too.


I actually surprised myself picking this as a favourite project as there were so many "pretty" projects to choose from.   I can't wait to see what everyone else has chosen for their favourites!   To continue the hop click through to ELIZABETH, I bet she has something delightful to share.


Thanks for stopping by
Tricia 

Friday, 25 December 2015

12 Weeks Of Christmas: Weeks 11 & 12 Gift Box & Bags


MERRY CHRISTMAS from the speckled sparrow! 

This is totally what our Christmas looks like today! Hot, sunny & beaches surrounding us.  I am truly lucky to live here in Torquay!  Ok, so I either can't count or I have missed a week somewhere in my 12 weeks of Christmas posts!  To make up for my error, I am posting 2 projects using similar products.

I have been making gifts galore this week & I needed some packaging for them.  Firstly I made a big batch of shortbread with the kids & I needed to house them in something pretty.   My trusty festive flower punch came in handy for all of these projects today.  I didn't have time to stamp my flowers & guess what? They still look great.  I needed flowers in a hurry!  These are so easy to build.   I used tombow glue, but you could use a hot glue gun.


Stampin' Up! sell the best cafe bags! They are lined with plastic so they were perfect for my shortbread gifts. This prevents the butter from the shortbread soaking through the bags.  

Project 2 is a cute little box I made using the retired gift boxes on sale on the Clearance rack.  I have created a little belly band & added my pretty poinsettia to the top.  I needed a special box for a very special gift.  I'm sure my niece Indiah will love what's inside! 


Today marks the end of my 12 weeks of Christmas projects. I am taking a few weeks off from blogging & will see you all again for some special Sale-A-Bration posts very soon! 
Thanks so much for visiting my little blog & I wish you all a Very Merry Christmas & a Happy & Joyous New Year.  

Thanks for stopping by
Tricia 


Friday, 18 December 2015

12 Weeks Of Christmas Week 10: A Winter Wonderland Ornament

Hello, & welcome back to my 12 weeks of Christmas posts.  Today I am sharing my Week 10 project.
My friend Lisa came over for a paper play date last week & she brought with her a photo of an ornament she wanted to make.  She found it on Facebook & wanted to give it a try & since I had all the ingredients we made one up.  The one we were CASEing came from Jamie from Gettin' Crafty Stampin'  If you follow that link she has an easy to follow tutorial on how to make your very own pretty paper ornament.  While these look hard, they are really super easy.


Here is my version hanging on my small tree:


Here is the ornament laid out on the table to get a better view.  I have used the Winter Wonderland Specialty DSP & Winter Wonderland Vellum with the pretty Snowflake Elements for a centrepiece.


I know Lisa has made a heap of different ones since we made this one. I can't show you all of them as they are going to be given as presents.  Here is one she shared with me yesterday.  Isn't it pretty!

Lisa's Pear Pizzazz Ornament
I have plans to make a few of these as present myself now that school has finally finished for the year & I can relax a bit. The best thing is all the ingredients for this ornament are on sale in the Year End close out sale!  If you click on the pictures below it will take you to my online shop where you can order these at a discounted price right up until January 4th, but remember these items are While Stocks Last!  

Be sure to check back here next Friday for my Week 11 project.

Thanks for stopping by
Tricia 


Sunday, 13 December 2015

CTC 60 CASE-ing Simone


Hello & welcome to a very special CTC blog hop where all the team members CASE each other.  How fun!  I can't wait to see what everyone comes up with!  You will have hopefully hopped here from Jess's blog where she has CASED me!  Today I am CASE-ing Simone Bartrum.  Simone is my Upline "grandma" so to speak, so CASEing her was a little bit daunting!

I loved what Simone did with the Wonderland stamp set recently, so I decided this would be the one to CASE. To refresh your memory here are Simone's cards.


I just love this stamp set & if you follow my blog you will see I have used it lots.  For this project, I wanted to try the Northern Lights technique.  I have always wanted to go see the northern lights, however, I absolutely loathe the cold - so nope, I shall have to love them from afar.   

For my first card, I used sponges & swiped my Daffodil Delight, Tempting Turquoise & Rich Razzleberry inks over the white cardstock randomly.  Then I rubbed Island Indigo ink all around to soften & blend the sky.  Next I stamped the trees in our Basic Black Archival Ink.  This ink is seriously the best black ink I have ever used! Then I added snow with the white gel pen to give it a really wintery feel.  You can see I have added a snowflake element just like Simone did too! 


I then decided I would like to try brayering to see if I could get a similar look. I used Island indigo, Daffodil delight & Rich Razzleberry inks to achieve the lit up night sky.  Well, I was a little out of practice & had to have about 4 tries before I got it just right. Trust me my hands were rather colourful by the end of it!  


As you can see, I used 2 different techniques to achieve a similar effect, but I like them both. 
Next stop on the blog hop is Simone's blog.  I hope she likes my CASE of her lovely cards.  I bet she has something fun to share!  If you get lost on your hop just stop in at the CTC blog to get back on track.  


Thanks for stopping by
Tricia